Nine key tips for recording video and audio
Remote work and learning require the use of video and audio tools that we may not be used to handling in a professional manner. However, working with these digital tools does not have to be intimidating. Here are some practical tips on how to use what you have at home to look and sound good!
1 – Choosing the location
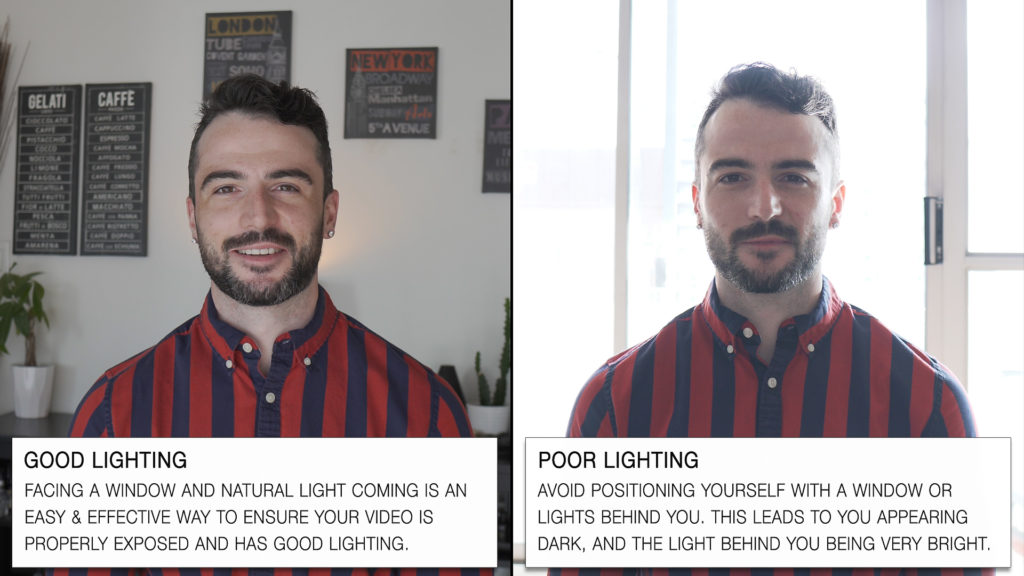
One of the first things you need to do before shooting video is finding the best location in your home or office. No matter where you film, lighting is the key.
Using natural lighting always produces a soft, natural image (and is the most cost efficient!), so if you have a window in your room, you can use it in your advantage. Always remember, natural lighting should be coming from behind your camera, and not behind what you are trying to film.
2 – How to light rooms with no windows
If you have dimmable lamps you can also adjust them to give you the best result. (See video for an example). Better results come again from positioning the lighting behind the camera source. Be wary when using lamps or ceiling lights of the angle of the light source. You may cause unwanted shadows through poor positioning.
If you are in a dark room, there is also the option of using a ring light. A ring light has the intention of lighting up your face when looking towards the camera. They are mainstays for amateur and professional youtubers. You can find ring lights starting from 20 dollars on Amazon Canada.
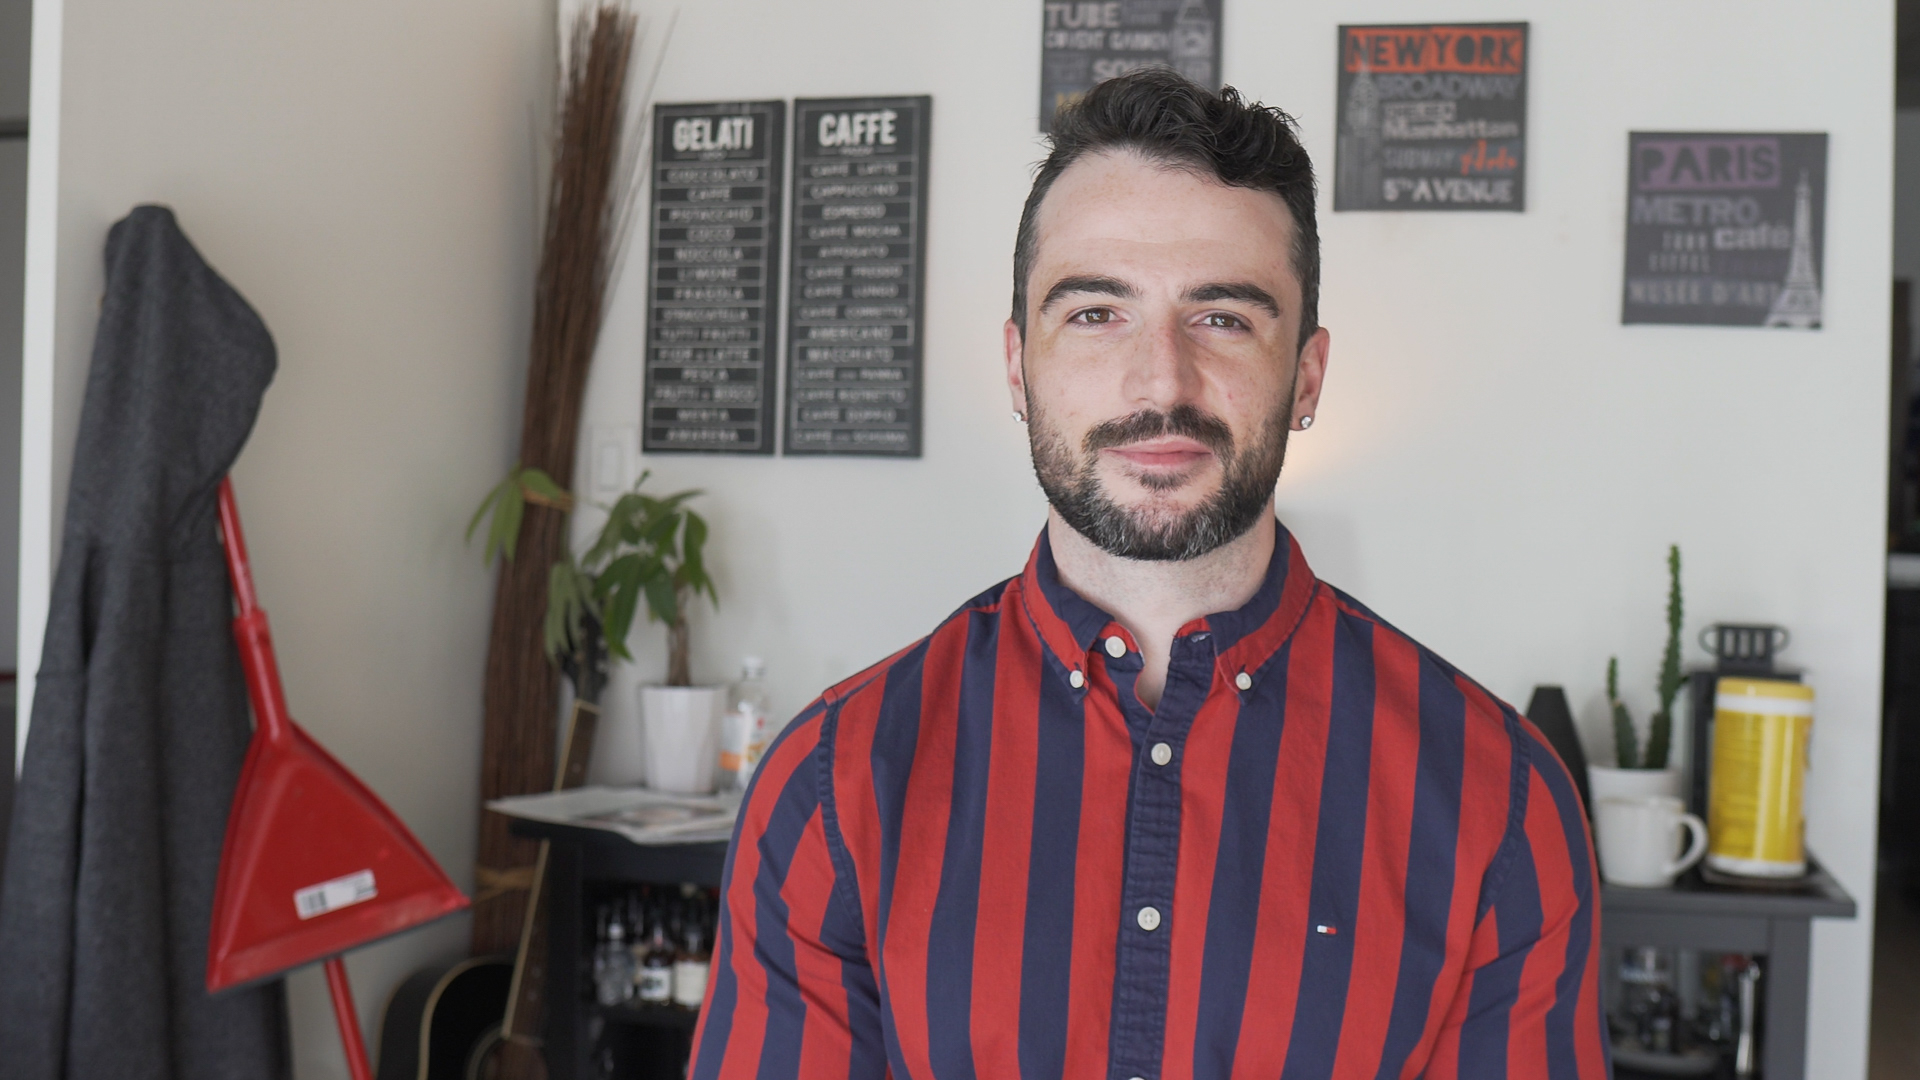
3 – Background composition
Once you find the perfect spot, make sure your background is not going to distract your viewers. Create a visually appealing background for a more professional look and help your audience focus on the message you’re trying to deliver.
Remove any unnecessary clutter in your frame that might be distracting and consider moving things around to balance the frame. Taking some test shots is a good way to get a feel for your frame. Try to avoid using zoom backgrounds as they can be glitchy and distracting.
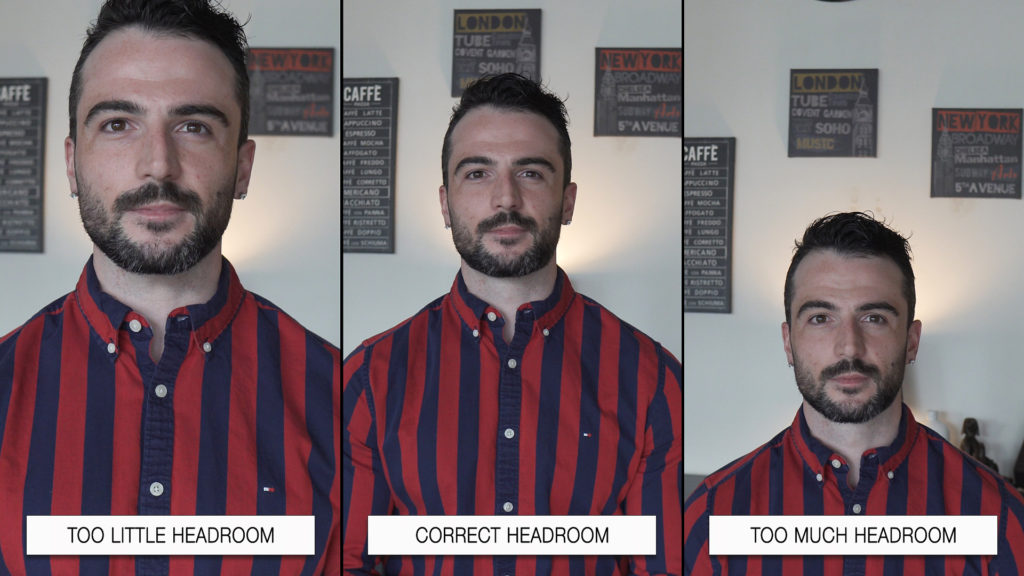
4 – Framing is important
There are a few things to keep in mind when setting the position of you, your camera, and what’s around you.
Having the right spacing above your head is important for a proper composition. You want to avoid cropping your head, while also being careful not to leave too much empty space. As a general rule, place your head about 2/3’s up the frame, and if possible, leaving space between you and the background is a good way to add depth and ensuring you are the primary focus of the frame.
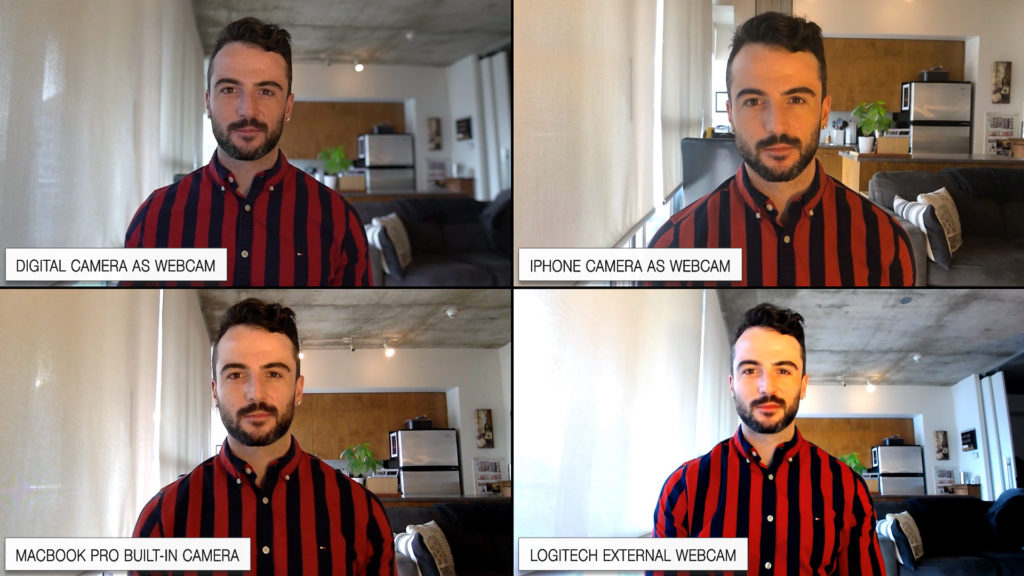
5 – Video quality is key
If you don’t have a good webcam, there are apps that allow you to use your cellphone or even a digital camera to record your presentations, which can maximize your video quality potential. Here you can see the difference in camera quality between four different webcam options.
Here are a few apps you can test:
- Android Phone on Windows: DroidCam
- Android on Mac: Limited options, but EpocCam (paid app) is the best (but not great), option
- iPhone on Windows: iVCam
- iPhone on Mac: NeuralCam (paid app) Live app
6 – Good audio is as important as good video
Having good audio quality is one of the most important factors in the overall success of a virtual presentation, and there are a few simple things you can do to improve your audio quality to ensure your viewers stay engaged.
The first is to reduce any ambient noise when possible. Microphones will pick up a lot of background noise that you may not have considered, such as household appliances, ceiling fans, traffic and more. It’s also important to check your audio settings and microphone input levels… which can result in distorted audio for your audience if the input level is too high. Zoom, and other conference software, also have the option to automatically adjust your microphone’s volume and limit background noise.
Lastly, choosing to use the right microphone can make a huge difference in your overall audio quality. Investing in an external mic or USB headset can be an affordable and worthwhile upgrade for your presentations. If you own multiple headphones with integrated mics, you might be surprised when testing and comparing the audio quality between them to see which will be best.
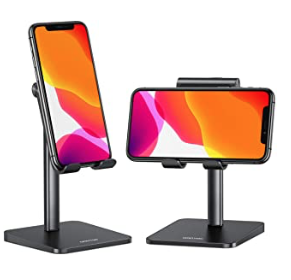
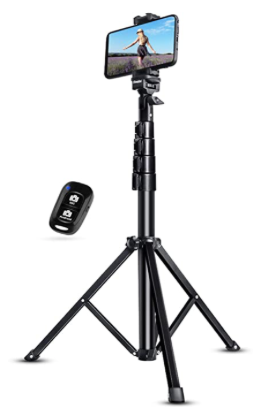
7 – Find a stable place to rest your phone
If you are recording a video with your mobile phone and don’t have a tripod, make sure you can find a good place to place your phone. No one can handle watching a shaky video, right? Here is a link to a few DIY options for phone stands.
There are some affordable versions of tripods available as well, in case you want to invest. You can find tripods on Amazon Canada starting from 22 dollars. If you are using your phone as a webcam, you can also find simple stands or clips for your phone on Amazon from less than 15 dollars.
8 – Know the channel you are recording the video for!
Landscape mode! This is how you should be holding your phone when recording most video. The only time you will need to record in vertical orientation is for a few social media channels. To be safe, it is always better to have your phone on landscape mode, but we recommend changing the orientation based on the application.
When participating in a live event like a zoom meeting, landscape mode is the default preference of the app.
For TikTok and Instagram, use vertical mode
For Facebook, Linkedin and YouTube, use horizontal/landscape mode
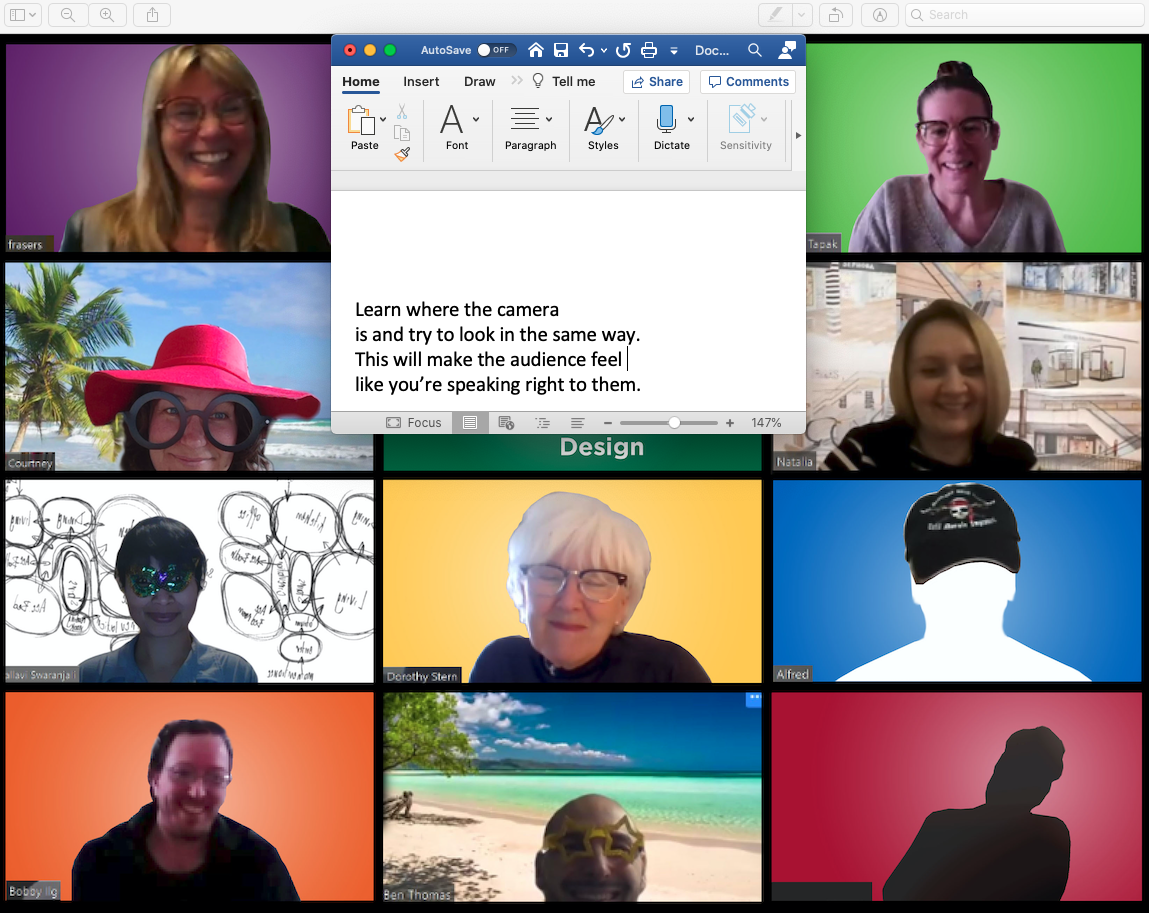
9 – Golden tip for looking even more professional!
To maintain eye contact while presenting to a Zoom Audience, create a makeshift teleprompter by positioning a Word or Google doc with your notes in a small window right below your camera.