LinkedIn Tips and Best Practices
Getting Started with LinkedIn
Set up your profile
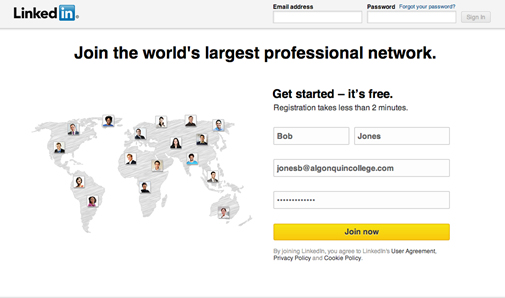
To sign up for LinkedIn, go to www.linkedin.com and complete the “Join LinkedIn today” form (name, email address and password). Click “Join Now”.
Complete your profile
LinkedIn has a wizard that walks you through the various areas of your profile to help you complete it. Here are a few tips on how to make the most of your LinkedIn profile.
- Write a professional “headline” that clearly tells people who you are and what you do. Make it an accurate reflection of all of your skills, expertise, role or aspirations.
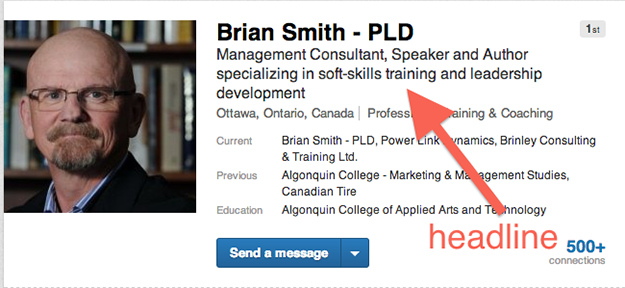
- Include a suitable, good quality photograph of yourself. Ideally your profile photo should be a professional looking head shot.
- Provide a concise, clear bio in the Summary section. Talk about your achievements and what your professional identity is. Write in the first person, as LinkedIn lends itself to a more conversational style.
- In the Experience section, provide as much detail as possible about your previous and current experience. Also write this section in the first person.
- If you have a blog, add your blog feed to your profile, so people will see when you post new blog content.
- Add up to three web site links — this can be links to your company, your blog or your social media profiles on Twitter and Facebook.
- LinkedIn provides you with an automated URL for your profile, but you can change it to your name (if available). This makes it easier for you to share your LinkedIn contact details as part of an email signature, for example.
Start networking
- Search for people you know by name and connect with your existing colleagues and business contacts
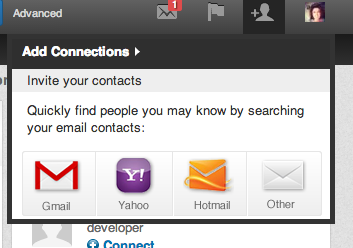
- Use the email tools to connect people you already have in your email contact lists.
- Opt to send short, personal messages inviting people to connect, rather than the default LinkedIn connection request.
- Browse your contacts’ connections. LinkedIn will calculate your degrees of separation from others and you can see common connections as a starting point for making new contacts. Don’t be afraid to ask your 1st degree connections for an introduction to your 2nd degree connections.
Explore Groups
LinkedIn Groups are a great way to connect with others around shared interests. You can search for people you want to contact, and use the Group to help raise your profile. You can share links to interesting news articles and start new discussions.
You can find and join LinkedIn Groups by searching for groups from the Groups You May Like page or in the Search field at the top of your LinkedIn home page.
Here are two ways you can find groups:
- In the search box at the top of any page, select “Groups” from the dropdown list on the left. Then type in your keywords or group name to search.
- On the search results page, you can refine your search using the checkboxes on the left.
- Move your cursor over “Interests” at the top of your homepage and select “Groups”. Look for groups in the “Groups you may be interested in” box at the bottom of the page.
Choose the Right Group for You
- Click a group’s name to view its “Discussions” page.
- Click the “i” Information and settings icon near the top right.
- Click “Group profile” to see more information about the group and its members.
Here are two ways you can join a group:
- Click “Join” on the group Discussions page or anywhere you see the button.
- Respond to an invitation from a group member or manager.
Note: Group managers may review your request to join a group or ask for additional information to ensure you meet their membership criteria. Membership approval is solely up to the group manager.
Creating a Group
When you create a group, you will be the owner and manager of that group. You can also assign other members to be managers or moderators.
To create a group:
- Move your cursor over “Interests” at the top of your homepage and select “Groups”.
- Click the “Create a group” button on the right.
- Fill in the requested information. A red asterisk means it’s required.
- Click the “Create” button to create your group as an open group or a members-only group.