Accessible Documents
When creating learning materials, it is important that they are accessible to everyone, especially for people who use assistive devices. Below are some key components on how to make your learning materials more accessible in Microsoft Word.
- Headings and Titles
- Alternative Text on Images
- Descriptive Hyperlinks
- Tables
- Lists
- Colour as Context
- Microsoft Word Accessibility Checker
Use this checklist for a quick at-a-glance view of the items you should keep an eye out for when creating accessible documents!
Headings and Titles
Headings help create an order to the Word document that a screen reader can follow.
Assign headings based on their hierarchy in the document. The main title or description of the document should be assigned Heading 1. There should only be one Heading 1 in the document. Sub-headings of equal importance should follow as Heading 2. Any further sub-headings should follow this pattern, it is important to remember to never skip a heading.
To add a heading style:
- Select the heading text in the document
- Click the appropriate heading level from the styles area of the Home ribbon.

Click to enlarge image.
Alternative Text on Images
Blind or low vision users obtain information provided from images by listening to text-based descriptions called alternative text or alt-text. All images that contain important information need to include alt-text.
The alt-text should be as concise as possible and describe all important information within the image. One strategy to follow when creating alternative text is to imagine you are describing the image to someone over the phone.
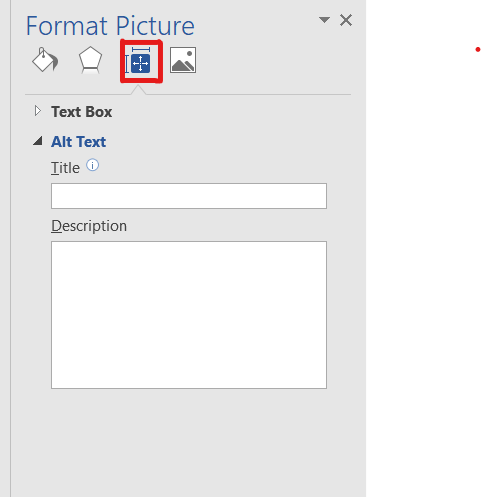
To add alternative text:
- Right click on image
- Click format picture
- Select Layout Properties Tab
- Enter text in the Description field not the Title field
Click to enlarge image.
Descriptive Hyperlinks
Students who use a screen reader have the ability to browse all links in a document to determine the content. In order to accommodate this, it is important to avoid generic link display text such as “click here”. When one document has multiple links with the same generic description it can be confusing for students. Instead of using “click here” try using text that explains where the link is taking the student, or what information is covered in the link.
Tables
- When creating a table in Word, use the insert tab then Table to properly insert an accessible Table.
- When creating your table, be sure to use proper Table Headings and check the Header Row check box.
- If a Table is longer than a page, the Heading Rows must be repeated at the top of the table on each of the following pages.
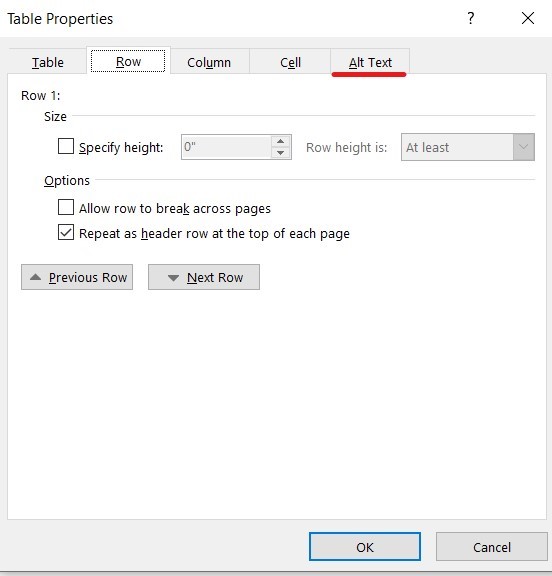
- To ensure accessibility, click to select the column headers in the first row of the table, right click and select Table Properties
- From the Row tab, check the box to “repeat as header row at the top of each page”
- Ensure that the “allow row to break across pages” box is not checked.
- Finally choose the Alt Text tab and add an alt text description of the table.
Click to enlarge image.
Lists
When adding lists into a document, use the list creating tool in the Home tab to create either a number of a bulleted list. If you are presenting information in a specific order, try to use number lists as it will be easier for students using assistive technology to follow. Avoid using the tab key to create indented rows with dashes, as this will not be accessible to assistive technology.
Colour as Context
Avoid only using color to provide information, as students who are using assistive technology will not be able to access the information. Although color can be used in documents, you should also use text-based methods to convey all information.
Microsoft Word Accessibility Checker
Microsoft Word has a built-in Accessibility Checker to identify accessibility issues within a document. With your document open, select the File tab, click the Check for Issues- Check Accessibility. All issues that have been identified will be shown on the left side of the document.